Description
Seat Occupancy Mat Emulator
from simulation to installation
Instead of putting the issues with your car
behind you, a seat mat emulator can help you moveforward with peace of mind. As a unique way to maintain
safety regulations and improve the form andfunction of your car, this one of a kind product can help you
drive safely and securely.This part fits Mercedes VITO VIANO Class W639.

Do you want to fix the airbag problem without having it blow up in
your face?
You cannot pass the annual test
for vehicle safety?
Are you tired of seeing airbag and seatbelt
lights glaring on your vehicle’s dashboard?
Congratulations, you’re in the right place!
This
listing includes: item
description, legal agreement, and installation guidelines.
aoba Free returns
Love your purchase or
send it back for a refund
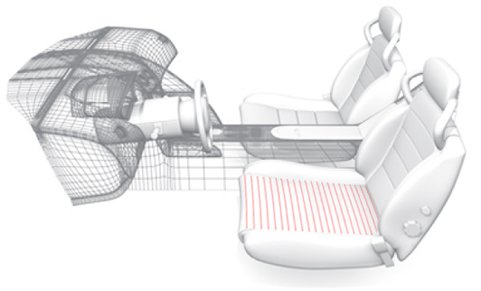
What Is a Seat Mat Emulator For?
A seat mat emulator
serves as a substitution for the factory-issued occupancy mat that comes standard with most factory model
cars. Rather than driving with airbag and seat belt warning lights on when this mat malfunctions, the
emulator will treat the seats in your car as if they are actually occupied by an adult, no matter who or
what is sitting there. We recommend using a replacement mat from the manufacturer of your car if your
current mat is defective, but we recognise that this isn’t always possible or practical. Our product is a
fine choice especially if your vehicle has been modified such that the original seat occupancy mat doesn’t
work right.
Don`t make a mistake
Please note that today’s available seat mat emulators will only correct
problems related to the seat occupancy sensor. You should perform a full diagnostic before using our
product to make sure that it’s actually the seat occupancy mat that’s not working right. Issues with your
belt tensioner, ignition circuit, firing circuit, drivers restrain, or airbag deployment equipment won’t
be resolved merely by installing our product in your car. Though it would be nice if our device could
correct all kinds of unrelated faults, this is sadly not the case.
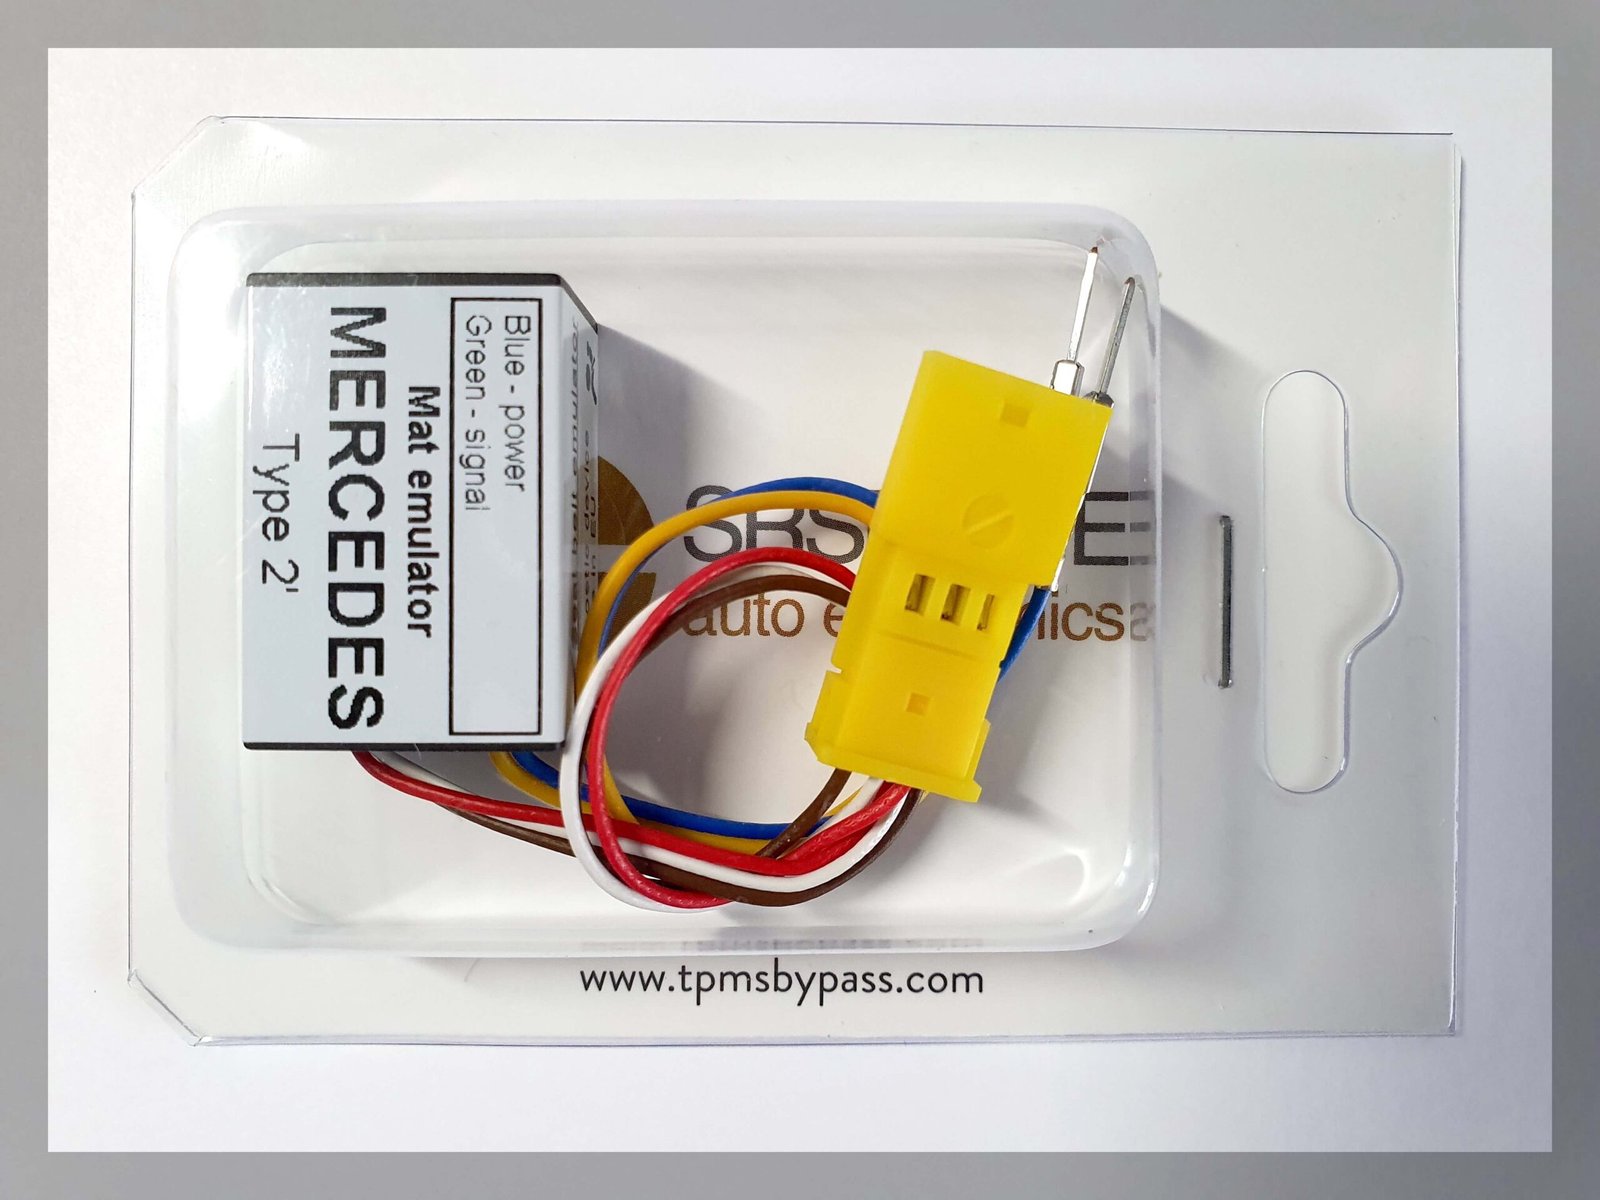
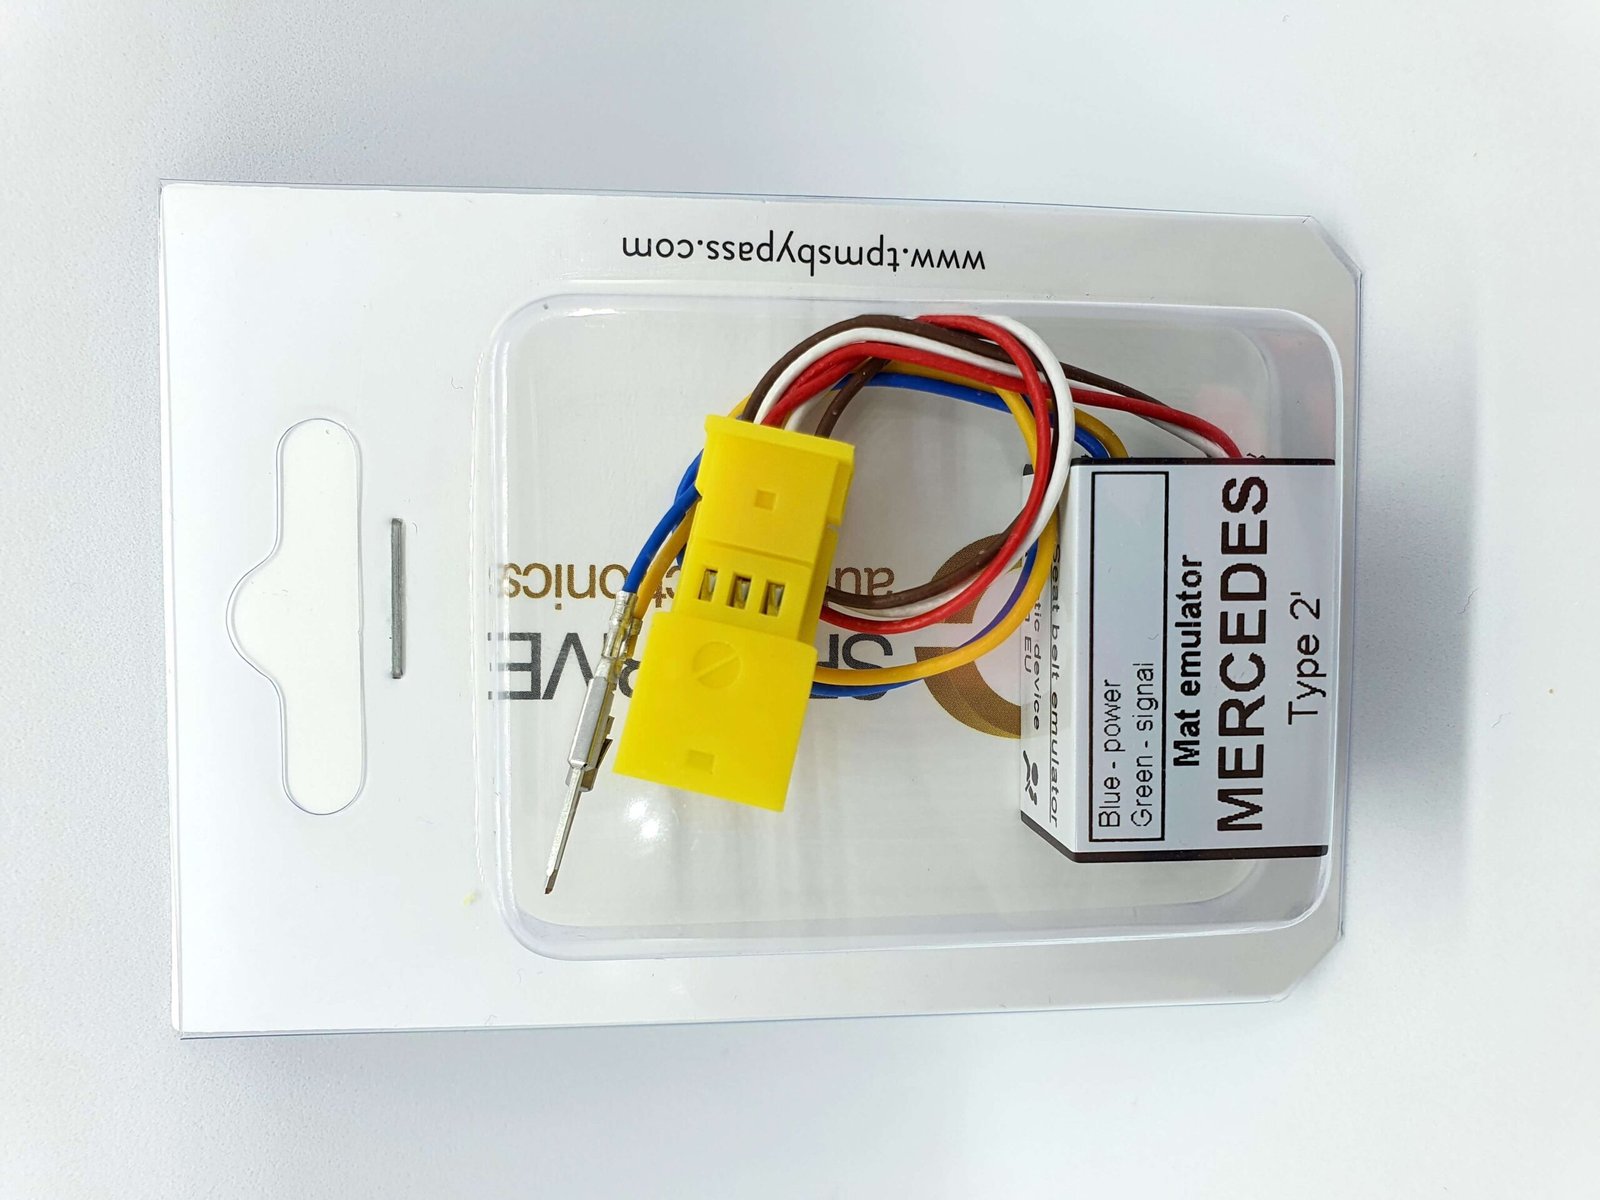
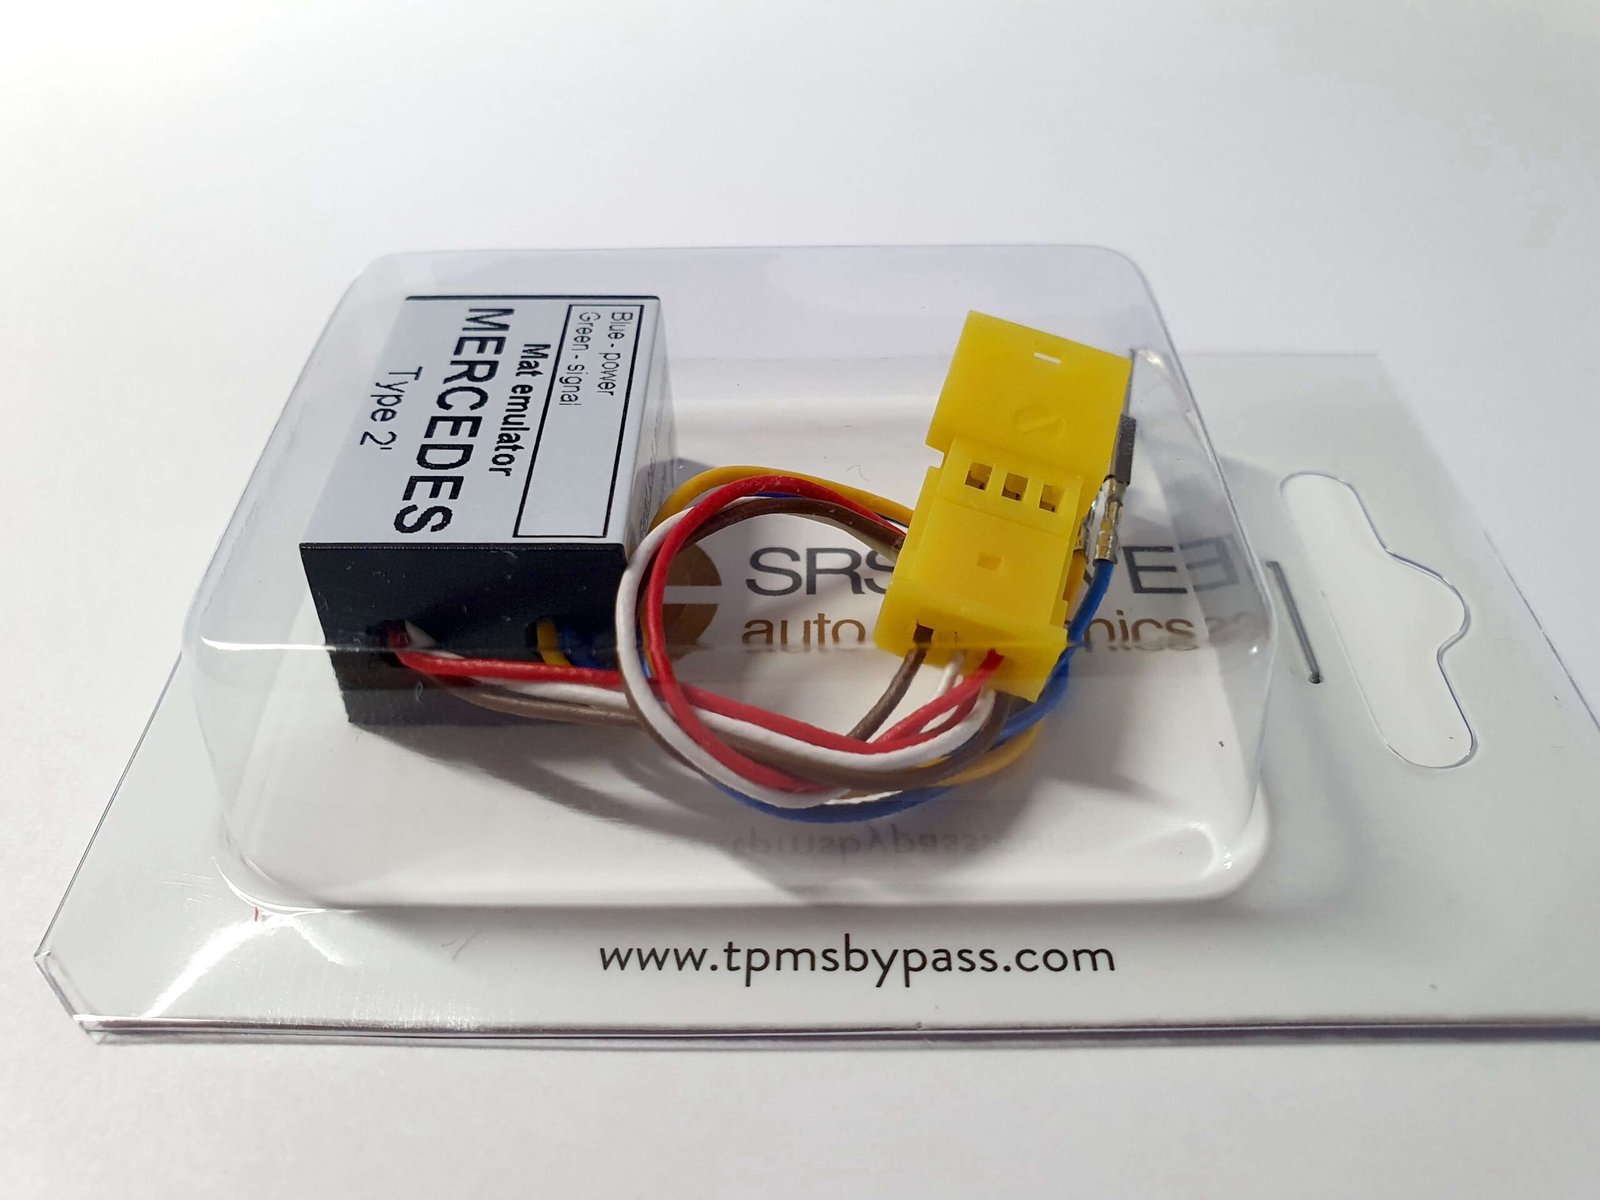
Seat mat emulator
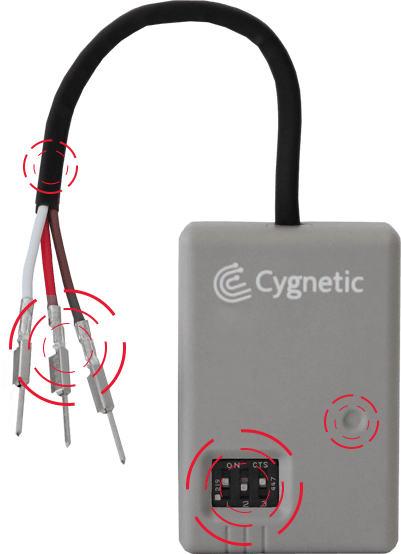 Insulatedwireoriginal
PIN
terminalsCustom made
enclosurepowerledDIP
switch system
- Insulated wire
- Original pin terminals
- Custom made enclosure
- Power led
- DIP switch system
Please click on the picture below to chose the correct emulator
for your vehicle:
-
-
Mini
-
-
-
Mercedes – Benz
-
-
-
BMW
-
-
-
Mazda
-
Fast and Easy to Use
When you need a fast, affordable
solution, the seat mat emulator can be the difference your vehicle needs. Incredibly simple
to use and highly effective.
Easy plug&play Functionality
Don’t know much about cars?
That’s okay. Seat mat emulators are extremely simple to use and can simply be plugged into your car.
Most emulators include an original connector for easy installation and can be added to your car with
the push of a button. In most cases, warning lights disappear as soon as the emulator is installed,
but some errors require diagnostics to adequately solve.
top quality
In order to provide the best possible solutions to our
customers, we are consistently dedicated to superior levels of quality. That’s why we offer a ten-year warranty on our emulators, guaranteeing your peace of mind. Our products are all manufactured
using parts from leading suppliers like Samsung and Texas Instruments, providing a
great experience from start to finish.
Highly Certified
In an effort to offer reliable quality and
consistent service to our customers, emulators are manufactured conforming to ISO9001: 2008
requirements. Emulators are certified by numerous accreditation bodies. Current certifications
include:
- Quality Management Standards
- Environmentally friendly RoHS
- Carries CE marking
Seat belt emulator
included
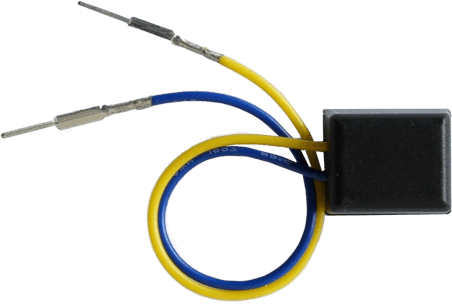
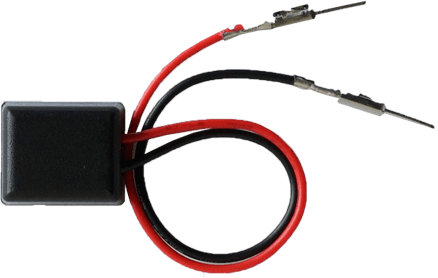
After installing the seat mat emulator, your car will likely signal for the engagement of the passenger seat belt. This is a positive sign; the emulator is working as designed and the car is able to detect the presence of an adult in the passenger seat. The seat belt emulator disables this feature, allowing you to drive as normal. If you are concerned about potential errors after installation, clear all occupancy mat fault codes prior to installing the seatbelt emulator.
Why does your car have an occupancy mat?

IMPORTANT: NEVER PLACE AN INFANT IN A REAR-FACING CHILD SEAT IN THE FRONT PASSENGER SEAT WHILE USING OUR PRODUCT.
Even with the original seat occupancy mat installed, an infant should be restrained in an arear-facing, reclining child seat that is properly secured in a rear passenger seat. Once the seat mat emulator is installed, you cannot put a rear-facing, reclining child seat in the front passenger seat because the passenger airbag is constantly enabled and will deploy at full speed regardless of whether or not a passenger is present.
Legal agreement
The buyer is responsible for any consequences resulting from the use of the seat mat emulator. If you allow people to drive your vehicle while the emulator is installed, it is up to you to inform them of it and instruct them on any precautions they need to follow. For a fully functional system, you should obtain original parts from the manufacturer of your car and have them installed by the dealership or factory-authorized personnel.
Installation Guidelines and Instructions
Mercedes – Benz
Dowload our Installation Instructions directly from our website under the “Seat Mat Bypass” menu.
Proper installation is an important part of efficient
functionality. We realise
that not allcustomers will be well versed in the inner workings of their cars, which is why we strive to
provideproducts that are easy to use, install, and enjoy. Please follow all directions fully for
bestresults.

1. Instalment Preparations
The ignition must remain switched off throughout
installation. Do not attempt to use the radio or air conditioning while installing the
device. Move the passenger seat all the way up and lean the seat fully forward or
backward, depending on vehicle make and model, to gain the best access to the seat mat connector.

2. Car Wiring
Please review the wiring colours used in your car to ensure
you are connecting the seat mat emulator to the correct location. Mercedes cars until model year
2010 features the same wiring colours: white, red, and brown wires correspond with the seat
occupancy mat. Yellow and blue wires correspond with the seat belt switch. If other colours are
present, please check the opposite side of the plug housing, which is generally located at the
front or the rear of the seat. The housing is removable and can be unclipped from its location
in order to gain easier access. Installation is uniform for all vehicles, even if occupancy
mat connectors differ slightly between models.
- Unplug both seat mat and seat belt connectors (1,2)
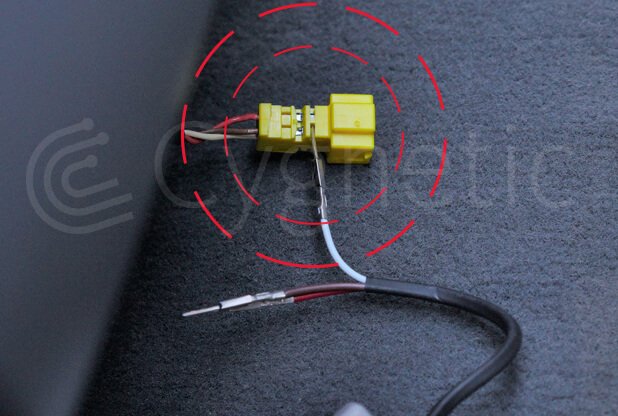
3. attach connectors
Attach the original connectors to the emulators. The
male connector terminals are held by small clips. Clips should be pushed in slightly while gently
pulling against the inside wire, leading to easy removal.

4. Insert emulator pins
Insert seatbelt pins into the original connector.
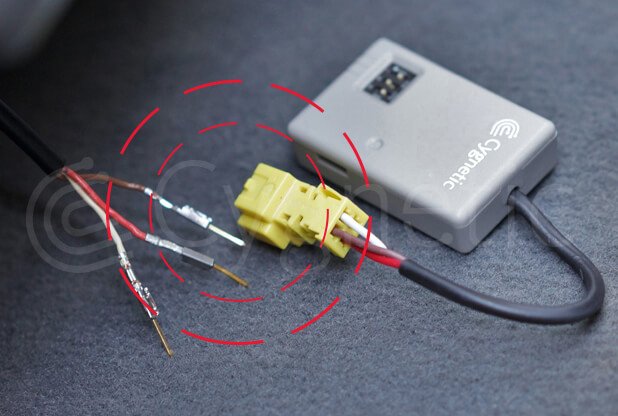
5. Insert emulator pins
Insert seat mat pins into the original connectors.
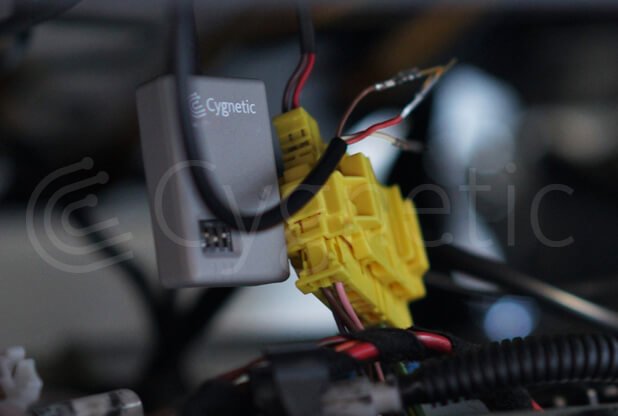
6. Plug emulators
Plug the seat mat and seat belt emulators into the
now-empty original sockets.
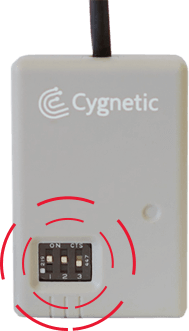
SET Dip switches Procedure FOR W204 W212
If faults don’t reset with diagnostics cut the Emulator label to open a box and set switches as below. Please remember – change the switch settings only when the ignition is off or the emulator is disconnected. Otherwise more errors may appear.
or 1. OFF 2. ON 3. ON
or 1. OFF 2. OFF 3. ON
or 1. ON 2. OFF 3. OFF
or 1. OFF 2. ON 3. OFF
Originally the emulator was set as 1. ON 2. ON 3. OFF
Try to reset the code after every change.
Procedure:
1. Turn the ignition off, and take out the key.
2. Change the switch position.
3. Turn the ignition on.
4. Read the codes using diagnostic software (that would be good if you took a photo of them before resetting).
5. Reset the codes.
If it is ok, leave this switch position as it works for your car.
If the seat mat fault code can’t be erased or goes back, repeat the procedure with another switch setting.

